
The Short Answer, With Conditions
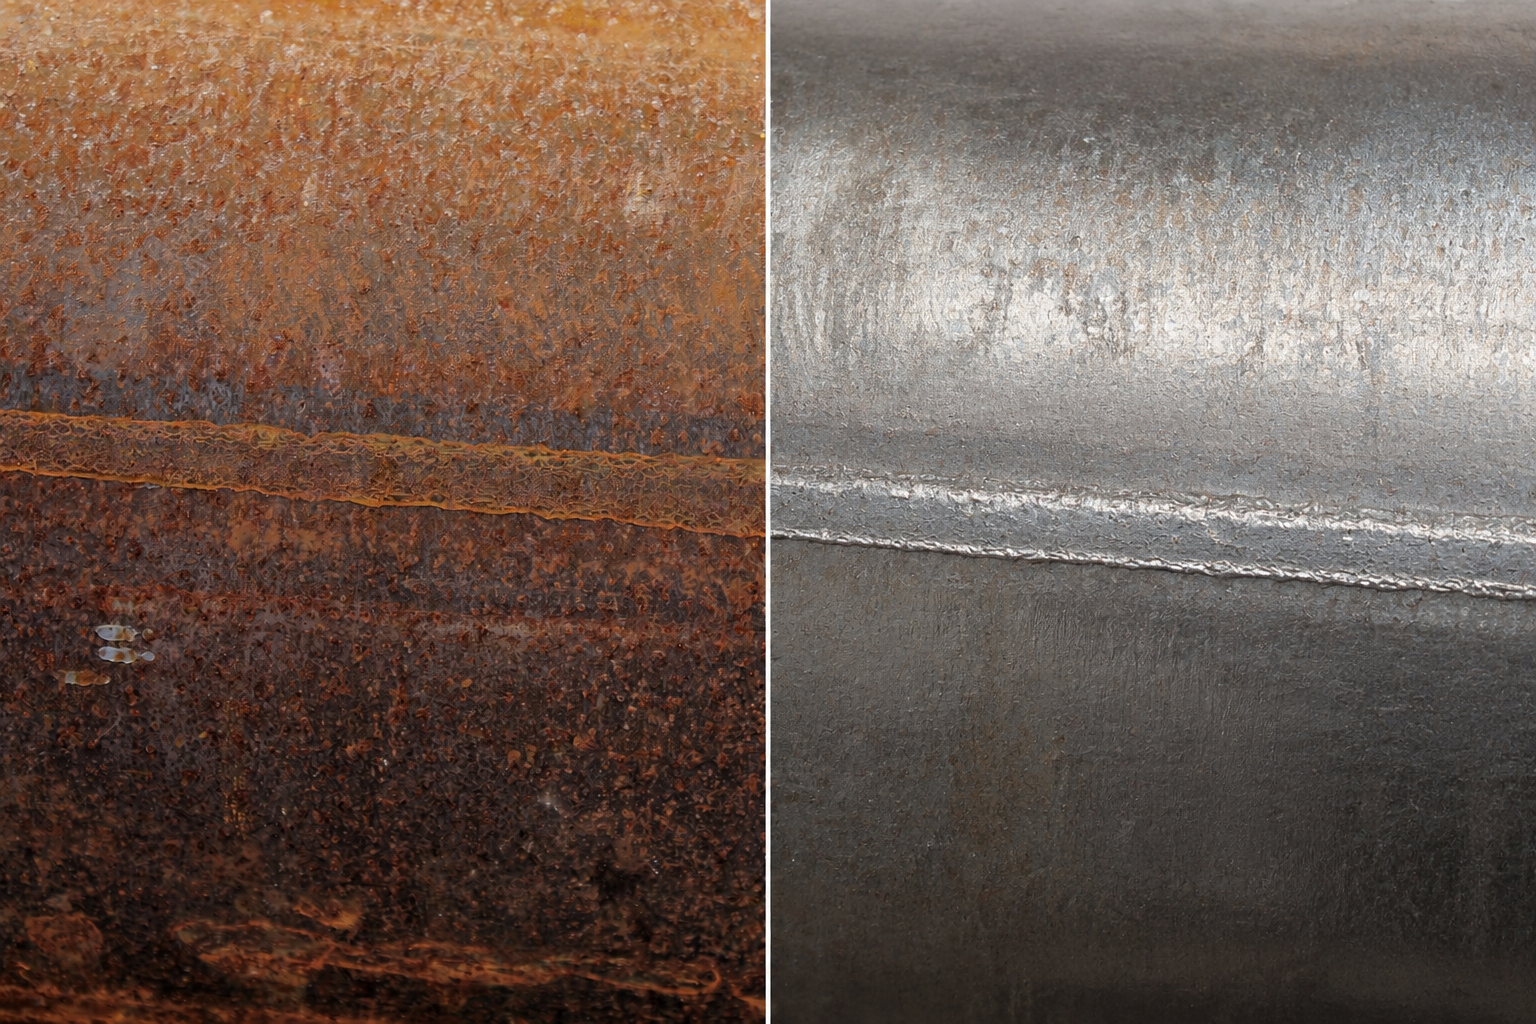
Set up correctly, laser cleaning can remove rust, oxide, paint, or other surface contamination without causing unacceptable change to the base metal. The important qualification is “set up correctly.” The acceptable process window depends on the substrate, the layer being removed, part geometry, laser output, beam movement, overlap, focus, and the finish required after cleaning.
For a buyer, “no damage” should not mean that the laser has no interaction with the surface. It should mean that the cleaned part remains within an agreed acceptance standard. A structural steel plate, a precision mold, a thin stamped panel, and a plated component may all require different checks. A visually clean result may be acceptable for one job but insufficient for another.
That is why we do not recommend approving a machine from a general demonstration alone. The safer decision is to test a representative workpiece, define the acceptance criteria before cleaning, and compare the result with those criteria. This article explains what that test should cover without prescribing a universal parameter recipe.
Why Laser Cleaning Can Spare the Base Metal
Laser cleaning works when the unwanted layer and the underlying material respond differently within a controlled process window. The contaminant may absorb enough energy to fracture, loosen, vaporize, or be ejected before the substrate reaches an unacceptable condition. The exact removal mechanism can vary with the material pair and the laser configuration.
This selectivity is useful, but it is not automatic. Average power alone does not define the energy delivered to each point. Pulse energy, pulse duration, repetition rate, spot size, scan pattern, line spacing, focal position, travel speed, and the number of passes can all affect the result. The condition and thickness of the rust or coating also change how energy reaches the substrate as cleaning progresses.
A setting that removes heavy rust from a thick steel fabrication should not be copied directly to a thin panel or a finished mold surface. Once the unwanted layer is removed, another pass exposes the base material more directly. That is one reason a controlled endpoint matters: the operator needs a clear definition of “clean enough” rather than continuing until the surface looks brighter.
Published studies on specific materials show both sides of the process window. Under selected conditions, contamination can be removed while the tested substrate stays within the study’s acceptance measures. At higher energy input or excessive overlap, the same studies report melting, craters, oxidation, roughness changes, discoloration, or other surface effects. Those results support a practical rule: validate the complete combination on the actual material instead of transferring a number from another machine, alloy, or test.
When Damage Happens: Wrong Parameters and Sensitive Workpieces
Laser cleaning surface damage is usually a process-window problem or an acceptance-definition problem. The following conditions deserve special attention.
Excess energy reaches the exposed substrate
If too much energy is delivered per unit area, the substrate can heat, oxidize, melt locally, or develop an altered surface texture. This can happen through excessive output, an unsuitable focal position, slow movement, high pulse overlap, or a combination of settings. We do not provide a universal “safe” value because the threshold changes with the laser source, optics, scan pattern, material, and contaminant.
Repeated passes create cumulative exposure
A second or third pass is not equivalent to the first. The first pass may remove most of the absorbing layer; later passes may act directly on exposed metal. Repetition can also increase local heat accumulation if the part has not cooled or the scan path repeatedly concentrates exposure in one area. The production method should define the maximum passes and the cleaning endpoint for that workpiece.
Thin, sharp, or low-mass features respond faster
Thin sheet, edges, corners, fins, wires, narrow ribs, and small sections have less surrounding material to spread heat. They may discolor, distort, or change texture before a thick plate shows the same response. A test coupon should match the production thickness and geometry as closely as possible. A flat sample cut from the same alloy may still fail to represent a formed edge or a narrow mold feature.
The “surface” may be a functional layer
Galvanizing, plating, passivation, conversion coatings, hard-facing, polished finishes, engraved markings, and mold textures may be part of the component rather than contamination. Removing rust or paint without considering these layers can create a clean-looking but unacceptable part. The buyer must identify what must be removed, what must remain, and whether the cleaning target is the base metal or a protected surface.
Mixed materials and hidden joints complicate the test
An assembly may contain different alloys, filler metal, sealants, adhesives, gaskets, or heat-sensitive parts near the cleaning area. Reflections and limited access also change how the operator controls the beam. Masking, disassembly, extraction, or a different process may be required. These choices should be reviewed for the actual assembly and local safety requirements.
Surface Acceptance Checklist: What a Sample Test Should Check
A useful sample test starts with written pass/fail criteria. “No visible damage” is too vague unless the application truly requires only a visual result. Use the checks below as a starting framework, then let the part owner, coating supplier, quality team, or responsible engineer decide which measurements apply.
| Inspection area | What to compare | Acceptance decision |
|---|---|---|
| Visual condition | Color, gloss, scan marks, pits | Match approved reference |
| Removal result | Residue, rust, coating left | Meet defined endpoint |
| Surface profile | Roughness or texture | Stay within stated range |
| Functional layer | Plating, passivation, texture | Required layer retained |
| Geometry | Flatness, edge shape, dimensions | Stay within tolerance |
| Material condition | Hardness or microstructure | Use when function requires |
| Documentation | Photos, settings, passes | Record is complete |
1. Record the starting condition
Identify the base material and grade if known, thickness, part geometry, coating or contaminant type, approximate layer condition, and any existing surface treatment. Photograph the test area with a scale and consistent lighting. Mark areas that must not be cleaned and note critical dimensions or finishes.
2. Define the cleaning endpoint
State what completion means. It may be visible rust removal, a specified cleanliness level, exposure of a previous coating layer, preparation for painting, or removal of residue from a mold texture. Do not use “bright metal” as a universal target. More exposure is not always better, especially where profile, passivation, plating, or dimensional integrity matters.
3. Check appearance under controlled conditions
Compare the untreated reference, cleaned sample, and approved standard under similar lighting and magnification. Look for discoloration, heat tint, localized melting, pits, scan stripes, edge rounding, unexpected gloss changes, and remaining residue. A visual check is fast, but it should not replace measurements when the surface has a functional requirement.
4. Measure roughness when profile affects performance
Surface roughness can influence coating adhesion, sealing, friction, fatigue behavior, and mold release. Record the original condition and the cleaned result using the same instrument, sampling method, direction, and evaluation length. The acceptance range must come from the part or downstream process requirement—not from a generic laser-cleaning claim.
5. Verify coatings and functional surface layers
If a layer must remain, confirm its presence and condition using the method required by the application. This may involve thickness measurement, adhesion testing, chemical or elemental analysis, or another approved inspection. Do not assume that a surface layer survived because the part still looks uniform. Destructive tests should use a coupon or require the owner’s approval.
6. Inspect thin or sensitive features
For thin sheet, narrow ribs, edges, polished surfaces, and precision tooling, compare dimensions, flatness, texture, and local appearance before and after cleaning. Include the most vulnerable feature in the sample; a thick offcut is not a substitute. Where distortion or thermal sensitivity is a concern, agree on how temperature or dimensional change will be monitored.
7. Escalate critical parts to the right inspection level
Components with fatigue, sealing, pressure, precision, or metallurgical requirements may need hardness testing, microscopy, crack inspection, residual-stress evaluation, corrosion testing, or another qualified method. We do not treat these tests as mandatory for every cleaning job. They are selected according to the consequence of a surface change and the customer’s drawing, standard, or quality plan.
8. Preserve a repeatable test record
A useful record includes the workpiece material and condition, contaminant, machine and laser configuration, optics, working distance or focus reference, scan pattern, process settings, number of passes, operator, photos, inspection method, results, and final approval. It should also state what changed if the first trial did not pass. Recording only the machine wattage is not enough to reproduce the result.
Questions to Ask Your Supplier
A supplier should help you define and verify a process, not simply say that laser cleaning is “non-damaging.” Before selecting equipment, ask:
- What information do you need from us? Expect questions about material grade, thickness, geometry, contaminant, layer condition, required finish, downstream process, and production volume.
- Which laser configuration will be tested, and why? The explanation should cover the application rather than power alone.
- How will you decide that cleaning is complete? Ask for a visible or measurable endpoint and a plan for avoiding unnecessary repeat passes.
- What signs of substrate change will you inspect? The answer should match your risk: appearance may be enough for one part, while roughness, dimensions, coating integrity, or material testing may be needed for another.
- Will the test record the full process condition? A video without settings, passes, part details, and inspection results is a demonstration, not a reproducible process record.
- What happens if the first test fails? Ask whether the supplier will adjust the process, recommend a different configuration, narrow the suitable application, or advise against laser cleaning for that part.
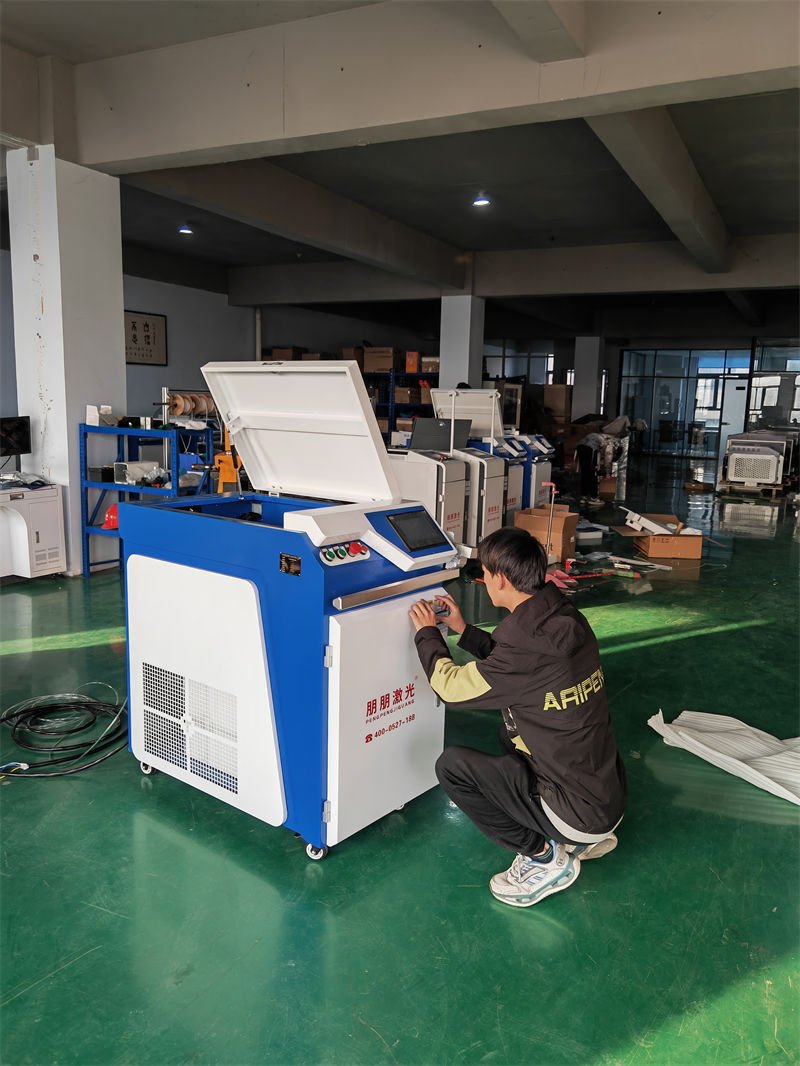
- Can the production setup repeat the sample result? Confirm that the proposed machine, optics, software, cooling, extraction, and operator workflow match the test arrangement. For portable industrial work, you can review our 200W portable laser cleaning machine as one possible configuration. Its suitability must still be confirmed against your workpiece and acceptance criteria. If your main task is removing rust without abrasive media, our rust removal without sandblasting page explains the broader workflow choice.
Send a sample workpiece and we will run a documented cleaning test with surface inspection. Include the base material, thickness, photos, contaminant, area to be cleaned, required finish, and any drawing or acceptance standard that controls the surface.
FAQ
Does laser rust removal change the hardness of the base metal?
It can, but a change is not inevitable. The result depends on the material, laser configuration, energy delivered to the surface, overlap, number of passes, and cooling between exposures. If hardness is functionally important, specify a before-and-after test method and acceptance range for a representative coupon. Do not infer hardness from appearance alone.
Is laser cleaning safe for thin sheet metal?
It can be suitable, but thin sheet and low-mass features usually require tighter process control than thick sections. Test the actual thickness and representative geometry, then inspect for discoloration, texture change, distortion, and dimensional movement. Settings proven on thick plate should not be transferred without validation.
Does pulsed laser cleaning leave a heat-affected zone?
Pulsed delivery can limit heat accumulation in a suitable process window, but it does not justify a universal “zero heat-affected zone” claim. Material, pulse characteristics, overlap, motion, focus, and repeated passes all matter. For heat-sensitive or critical components, use the inspection method required by the part owner or quality plan.
Can laser rust removal replace abrasive blasting for coating preparation?
Sometimes. Laser cleaning may remove rust without abrasive media, but coating preparation also depends on cleanliness, surface profile, geometry, throughput, and the coating supplier’s requirements. Run adhesion or other specified qualification tests before replacing an approved blasting process.